
 0
0



- Home
- Knowledge
- Screen Printing Process
- Curved Screen Printer Setup Tutorial Part 1: Jig & Stencil Alignment
Curved Screen Printer Setup Tutorial Part 1: Jig & Stencil Alignment
FA-400 RSN semi-auto curved screen printer tutorial video Part 1
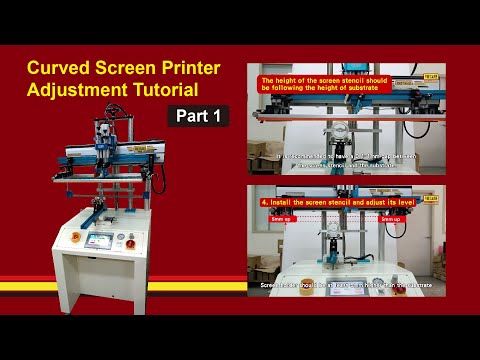
Turn on the curved screen printing machine
-
Turn the power and air pressure on and push default start point botton. The machine will search for default start point automatically.
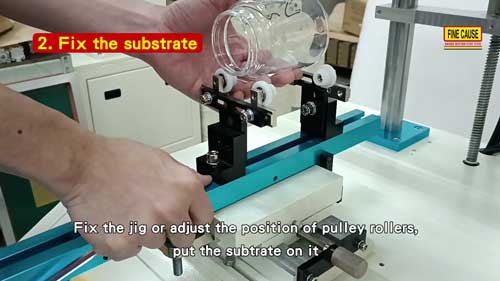
Fix the substrate need to be printed
-
Fix the jig or adjust the position of pulley rollers and put the subtrate on it. Take a close look at the substrate and adjust its initial level. To have more precise level adjustment after the screen stencil is installed.
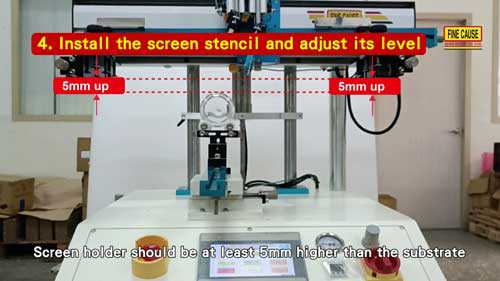
Adjust screen holder of the screen printer
-
Push screen position down botton to make the holder in the printing position. Screen holder should be at least 5mm higher than the substrate.
Install the screen stencil on the screen printing machine and adjust its level
-
Push squeegee stand up botton to make the squeegee stand in upper position. Install the screen stencil and fix it by tightening the screws.
-
Stand by the printer and lower your body, eyes on the same height with the substrate and the screen stencil.
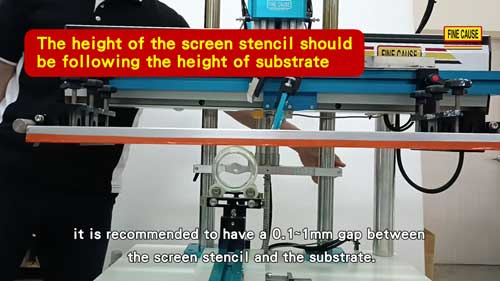
-
Adjust the level of substrate and the height of screen stencil.
-
The level should be in accordance with the screen stencil. Adjust substrate's level until it's parallel with the screen stencil.
-
The height of the screen stencil should be following the height of substrate. Screen stencil cannot be lower than the highest point of the substrate.
-
※It is recommended to have a 0.1~1mm gap between the screen stencil and the substrate.


Article Classification
Recent Articles
- Curved Screen Printer Setup Part 3: Range & Printing
- Curved Screen Printer Setup Tutorial Part 2: Squeegee & Ink Blade Tuning
- Curved Screen Printer Setup Tutorial Part 1: Jig & Stencil Alignment
- Manual 4 Color Screen Printing Machine (T-shirt printing machine) Assembly/Printing Tutorial
- Screen Making Guide: Critical Details for Flawless Screen Printing