
 0
0



- Home
- Knowledge
- Screen Printing Process
- Curved Screen Printer Setup Part 3: Range & Printing
Curved Screen Printer Setup Part 3: Range & Printing
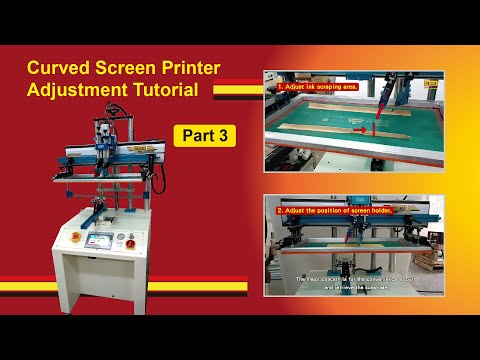
FA-400 RSN semi-auto curved screen printer tutorial video Part 3
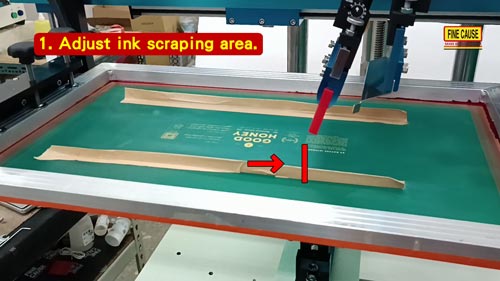
1.Adjust ink scraping area.
-
The curved screen printer the left and right displacement distance of the screen plate based on the position of the graphics on the screen plate. This is adjusted and set via the human-machine interface on the curved screen printer. The following steps are taken to adjust the position:
-
Push 【Positioning Moving Left】button. Push 【Inching- Left】 button until ink scraping area covers the logo. Push 【Left Positioning Point Input】 button and have PLC keep a record of the squeegee position.
-
Push【Positioning Moving Right】button then push 【Inching- Right】button until ink blade goes back to the position where ink can cover the complete graphic. When ink scraping position is confirmed, push 【Right Positioning Point Input】button and make sure the start points of the squeegee and ink blade are correct.
-
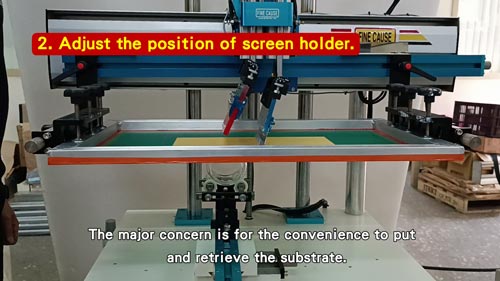
2.Adjust the position of screen holder.
-
Adjust the upper position of the screen holder. The major concern is for the convenience to put and retrieve the substrate.
※It leads to a longer operation time if the screen holder is too high. Substrates are difficult to put and retrieve if it is too low.
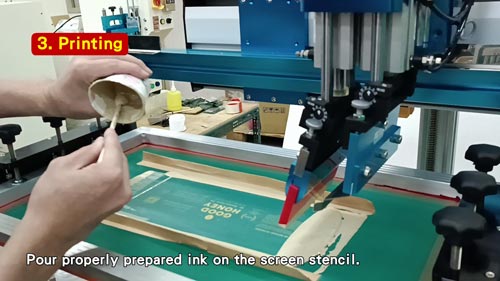
3. Printing
-
Apply a tape on the substrate for test printing if needed.
-
Pour properly prepared ink on the screen stencil.
-
Start test printing. Push【SEMI AUTO】button to print.
-
Make subtle adjustments based on test printing result until ideal printing image is reached.

Article Classification
Recent Articles
- Curved Screen Printer Setup Part 3: Range & Printing
- Curved Screen Printer Setup Tutorial Part 2: Squeegee & Ink Blade Tuning
- Curved Screen Printer Setup Tutorial Part 1: Jig & Stencil Alignment
- Manual 4 Color Screen Printing Machine (T-shirt printing machine) Assembly/Printing Tutorial
- Screen Making Guide: Critical Details for Flawless Screen Printing